With all of the different photo editing software and applications readily available today, it is easier than ever to add great special effects and trick photography illusions to your favorite photos to give them an “otherworldly” appeal.
Several other stunning effects can be achieved by making adjustments to shutter speed. By using these tips even the most amateur photographer can make their photos look professional.
Tip # 1: Light Painting Techniques
By reducing the shutter speed on your camera and using it in a night setting along with a flashlight, you can create some really interesting and cool special effects.
Simply wave the flashlight around, aiming it at the subject of the photograph, as well as occasionally aiming it directly at the camera lens. What you will end up with will appear as if the light is painted throughout the photo.
Tip #2: Light Drawing Techniques
Light drawing is similar to light painting, but differs because the design is more specific.
Keep the camera about fifteen feet away from the subject and set the shutter speed to around 30 seconds. Using a flashlight, or other light source, begin making your pattern or design.
If you are drawing something simple such as a basic shape, you may wish to go over the pattern several times. If it is more complicated, stick to going over the pattern only one time fairly slowly to get the desired effect.
Tip #3: Using Flash Stencils in Photography
Using a flash stencil in your photos will give you a cool special effect. For this, you will need a box, a piece of sturdy white paper on which to make a stencil, or a pre-made stencil, and an external flash source for light.
Cut an area out of the box so that you can place your stencil in it. Tape the stencil into place. Then, on one side of the box, cut a hole just large enough for your external flash to fit into. This will cause the flash to illuminate the stenciled area.
Set your shutter speed to around 30 seconds, and then move about within the area you would like the stenciled image to appear. Remember not to stand too still or stay in any one spot too long, or partial images of your body may end up in the photo along with the stencil.
Tip #4: Motion Blur Effects
Motion blur images are one of the most popular of types of trick photography and special effects available. To capture the essence of motion, while at the same time having a subject in the photo appear focused, there are a few tricks you can use.
One option is to freeze the entire image by shooting with a shutter speed of about one thousandth of a second. Another way to achieve motion blur is to pan your subject, following them while everything else around you continues to move. Another option is to have the subject remain still as you focus on them and things blur past around them.
Tip #5 Double Exposure Special Effects
When attempting a double exposure effect, two slightly underexposed images must be taken. These images will then be combined to create one double exposure image.
The superimposed images will overlap in the finished product, so try to get them to match so that everything looks uniform and natural, aside from the subject matter that you desire to look slightly unnatural and stands out.
Tip #6 HDR Photo Effects
HDR stands for High Dynamic Range and involves taking one or a series of images and combining or adjusting them after processing. Typically, this works by using three images of the exact scene, all taken using different shutter speeds.
Using special software, you can then combine these images to enhance the highlights and details, such as shadows. This helps the photographer to achieve the full effect of the scene as the naked eye would actually see it.
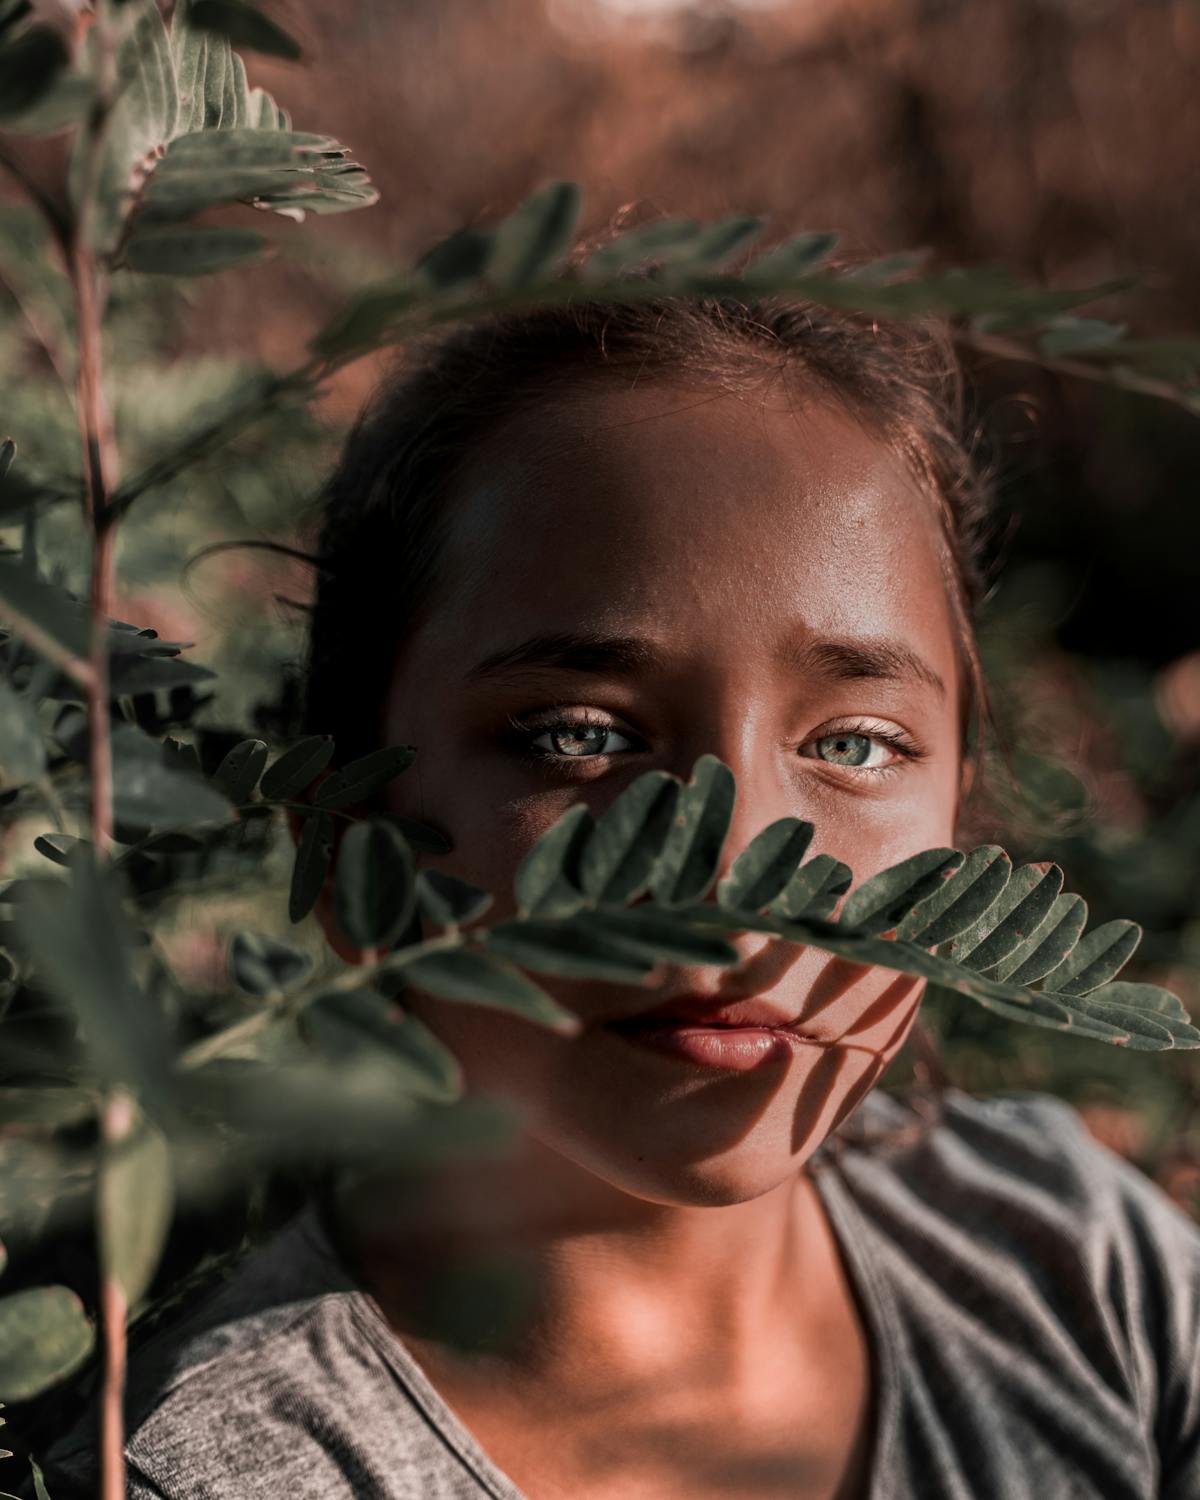
Tip #7 The Bokeh Effect
As the last of our list of 7 types of trick photography and special effects, this one can be achieved by using a DSLR camera and large aperture settings. Set the camera to A or AV mode and to use a low f-number (lower f-stop = larger aperture) to obtain a shallow field depth.
Using a fixed focal lens will also help in creating the Bokeh effect. Keeping the subject very close to the lens and the background as far away as possible works to create the most effective Bokeh shot.
There is also good news for the point and shoot camera user, as photo effect programs and even downloadable apps for an iPhone or other mobile device are available to give you the Bokeh effect without all the extra work or special equipment.
All of these methods will give you the soft, circling patterns of light that Bokeh is known for.
Conclusion
Many of these methods of trick photography can be achieved by simply adjusting the shutter speed. The shutter controls how much light is allowed into the camera, which can greatly effect how the photograph is exposed, as well as the ultimate outcome of the shot.
It is important to keep in mind that you don’t have to spend a lot of money to make your ordinary photographs look extraordinary.


